Best Practices and Proven Solutions
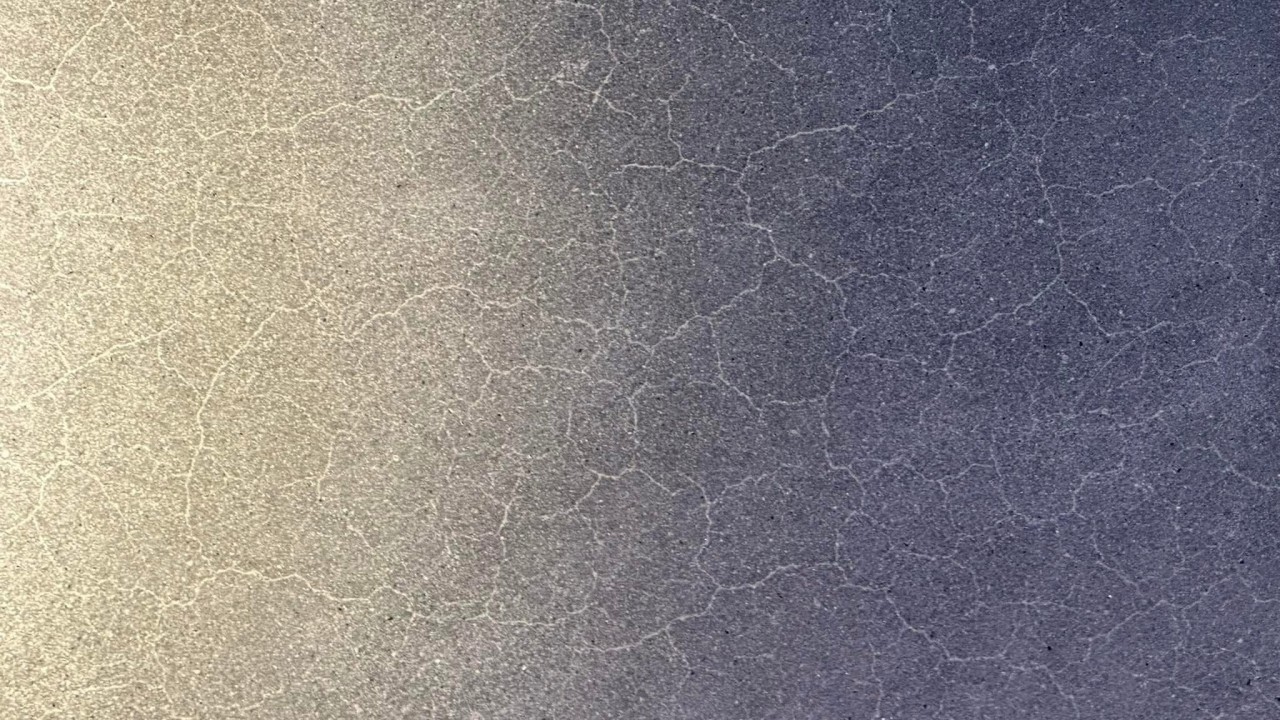
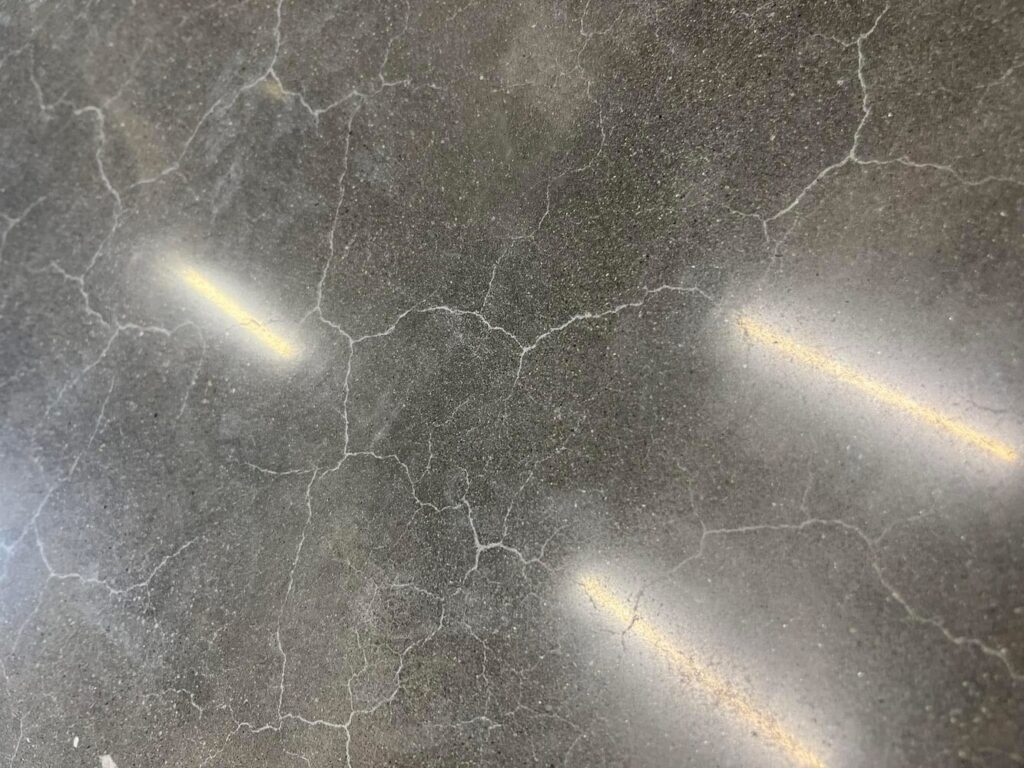
Crazing, often characterized by fine, hairline cracks in concrete surfaces, may not present a structural danger, but it can affect the aesthetic appeal and long-term durability of concrete floors. Understanding the causes of crazing and how to prevent it can turn a potential problem into a profitable opportunity for flooring professionals.
Why Does Crazing Occur?
Crazing typically occurs due to plastic shrinkage, which arises when fresh concrete loses water through evaporation before it hardens. Factors such as mix design, finishing techniques, curing conditions, and the use of specific types of cement, such as Type 1L (Portland Limestone Cement), can contribute to this phenomenon.
In one recent case, a concrete floor poured nine months ago exhibited extensive crazing during polishing. The mix used 50% Type 1L cement, 30% fly ash, and 20% slag. It was placed directly on a vapor barrier and wet cured for 10 days after saw cutting. Despite these precautions, the surface developed crazing, raising questions about whether the cement type, supplementary cementitious materials, or curing practices were at fault.
Preventive Measures During Placement
- Use a Surface Retarder: Applying products like Concria Trowel Hard during concrete finishing can significantly reduce crazing. This product retards the surface setting and minimizes water evaporation, helping the cement crystals fully form.
- Control Environmental Conditions: Monitor temperature, humidity, and wind conditions during placement and finishing. Rapid evaporation often leads to plastic shrinkage.
- Curing Techniques: Ensure proper and extended curing. Wet curing for at least 7-14 days or using curing compounds can maintain surface moisture, reducing the risk of crazing.
Remedial Solutions: Turning Issues into Opportunities
If crazing is already present, there are effective ways to address it while adding value to the project:
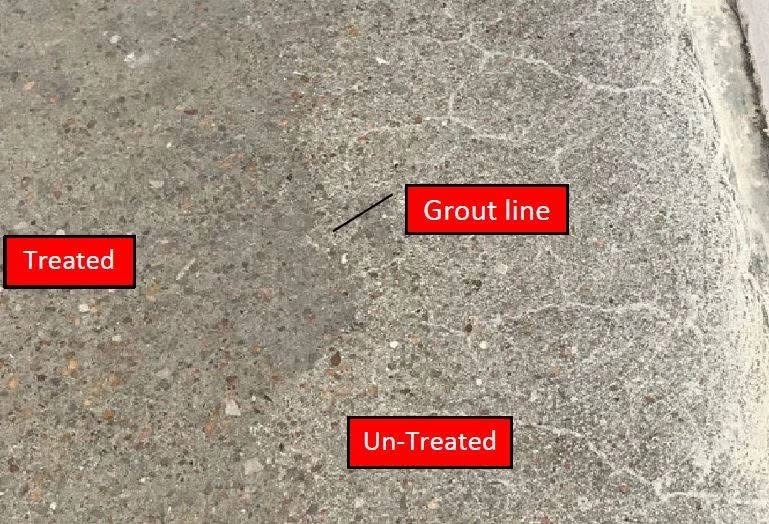
- Grouting: Applying a non-shrink, UV-stable, and moisture-stable grout coat can fill and mask the crazing. Choosing the right grout is critical. If the technical data sheet (TDS) does not specify UV stability, the grout may darken over time, highlighting the cracks instead of hiding them.
- Polishing Techniques:
- Start with TX3 or a similar product in Grizzle Gray or Porpoise shades after using a 50-grit transitional tool.
- Hand trowel small batches and then cut with 100-grit resin pads.
- For best results, use a hybrid 50 tool to prepare the surface and follow up with polishing methods that enhance the floor’s appearance and durability.
Additional Tips: When severe crazing occurs, consider a change order to incorporate the necessary steps for repair and enhancement. A smart strategy is to propose a change order around the TX3 application after the 80s grit and then polish it with 50s hybrid pads. This approach resolves the issue and offers clients an upgrade opportunity, turning a problem into a beautiful, easy-to-maintain floor.
The Takeaway
Crazing might initially seem like a flaw, but with the proper techniques and products, it can become an opportunity to showcase expertise and offer clients a premium, long-lasting solution. At #Applied, we believe in using advanced methods and materials to transform challenges into beautiful, serviceable, and profitable outcomes.